
Paint Maintenance: Touch-Ups, Cleaning, and When to Repaint.

The short answer
Paint maintenance is simple: clean what gets dirty, touch up what gets scuffed, and inspect the exterior once a year. Touch-ups handle isolated damage; a full repaint is for widespread failure. Knowing the difference saves you from repainting too early – or too late.
When a full repaint is due, price it first with the house painting cost calculator.
The routine below is built around the way paint actually ages — not a generic cleaning schedule. Follow it and you’ll stretch years between full repaints.
Why paint fails early
Paint doesn’t die of old age — it’s killed. The killers are sunlight, moisture, and poor preparation, usually working together. UV breaks down the binder that holds paint together, which is why south-facing walls fade first. Moisture gets behind the film and pushes it off, which is why bathrooms and exteriors peel. And paint applied over a dirty or glossy surface never bonded properly in the first place.
Maintenance fights all three. Cleaning removes the grime that traps moisture. Touch-ups seal the small breaches before water gets behind the film. And inspections catch the early warnings — hairline cracks, chalking, blistering — while they’re still cheap to fix.
The economics favor maintenance heavily. A full repaint is one of the priciest home maintenance jobs; the touch-ups and cleaning that postpone it cost almost nothing but attention. Every year you add to a paint job’s life is money you didn’t spend.
The paint maintenance routine
Work through this routine on the schedule shown. Most of it takes minutes.
| Task | How often | How |
|---|---|---|
| Dust walls and trim | Every few months | Dry cloth or duster — prevents grime buildup |
| Wash high-traffic areas | As needed | Mild soap and water; test a spot first |
| Touch up scuffs and chips | As needed | Same paint, feathered edges, thin coats |
| Inspect the exterior | Once a year, in spring | Look for peeling, cracking, chalking, failing caulk |
| Clean gutters near painted trim | Twice a year | Overflowing gutters stain and rot trim |
| Recaulk failing joints | As needed | Scrape out failed caulk before resealing |
How to touch up paint properly
Good touch-ups disappear. Bad ones draw the eye. Technique matters.
| Step | Details |
|---|---|
| Use the same paint | Ideally from the original can; same brand, color, and sheen |
| Stir, don’t shake | Shaking adds bubbles that show in the finish |
| Feather the edges | Blend outward so there’s no hard line |
| Small roller or brush | Match the original application tool |
| Two thin coats | Blends far better than one thick coat |
| Mind the sheen | Touch-ups show less on flat finishes, more on glossy ones |
Touch-up technique that actually blends
Bad touch-ups look worse than the scuff they cover. The secret is thin coats and feathered edges.
Use the original paint if you have it — even the same color mixed fresh can differ slightly between batches. Apply with a small brush or mini roller, feathering outward so the edge melts into the old paint instead of forming a hard line. Two thin coats beat one thick coat every time, and don’t touch it while it dries — messing with half-dry paint leaves texture that catches the light.
For larger damaged areas, don’t spot-fix — repaint the whole wall section corner to corner. The eye can’t detect a color shift across a corner, but it spots one mid-wall instantly.
Cleaning painted surfaces
- Dust before you wash
- Mild soap and water for most marks
- Avoid abrasive pads and harsh chemicals
- Always test a hidden spot first
- Rinse and let dry fully before touching up
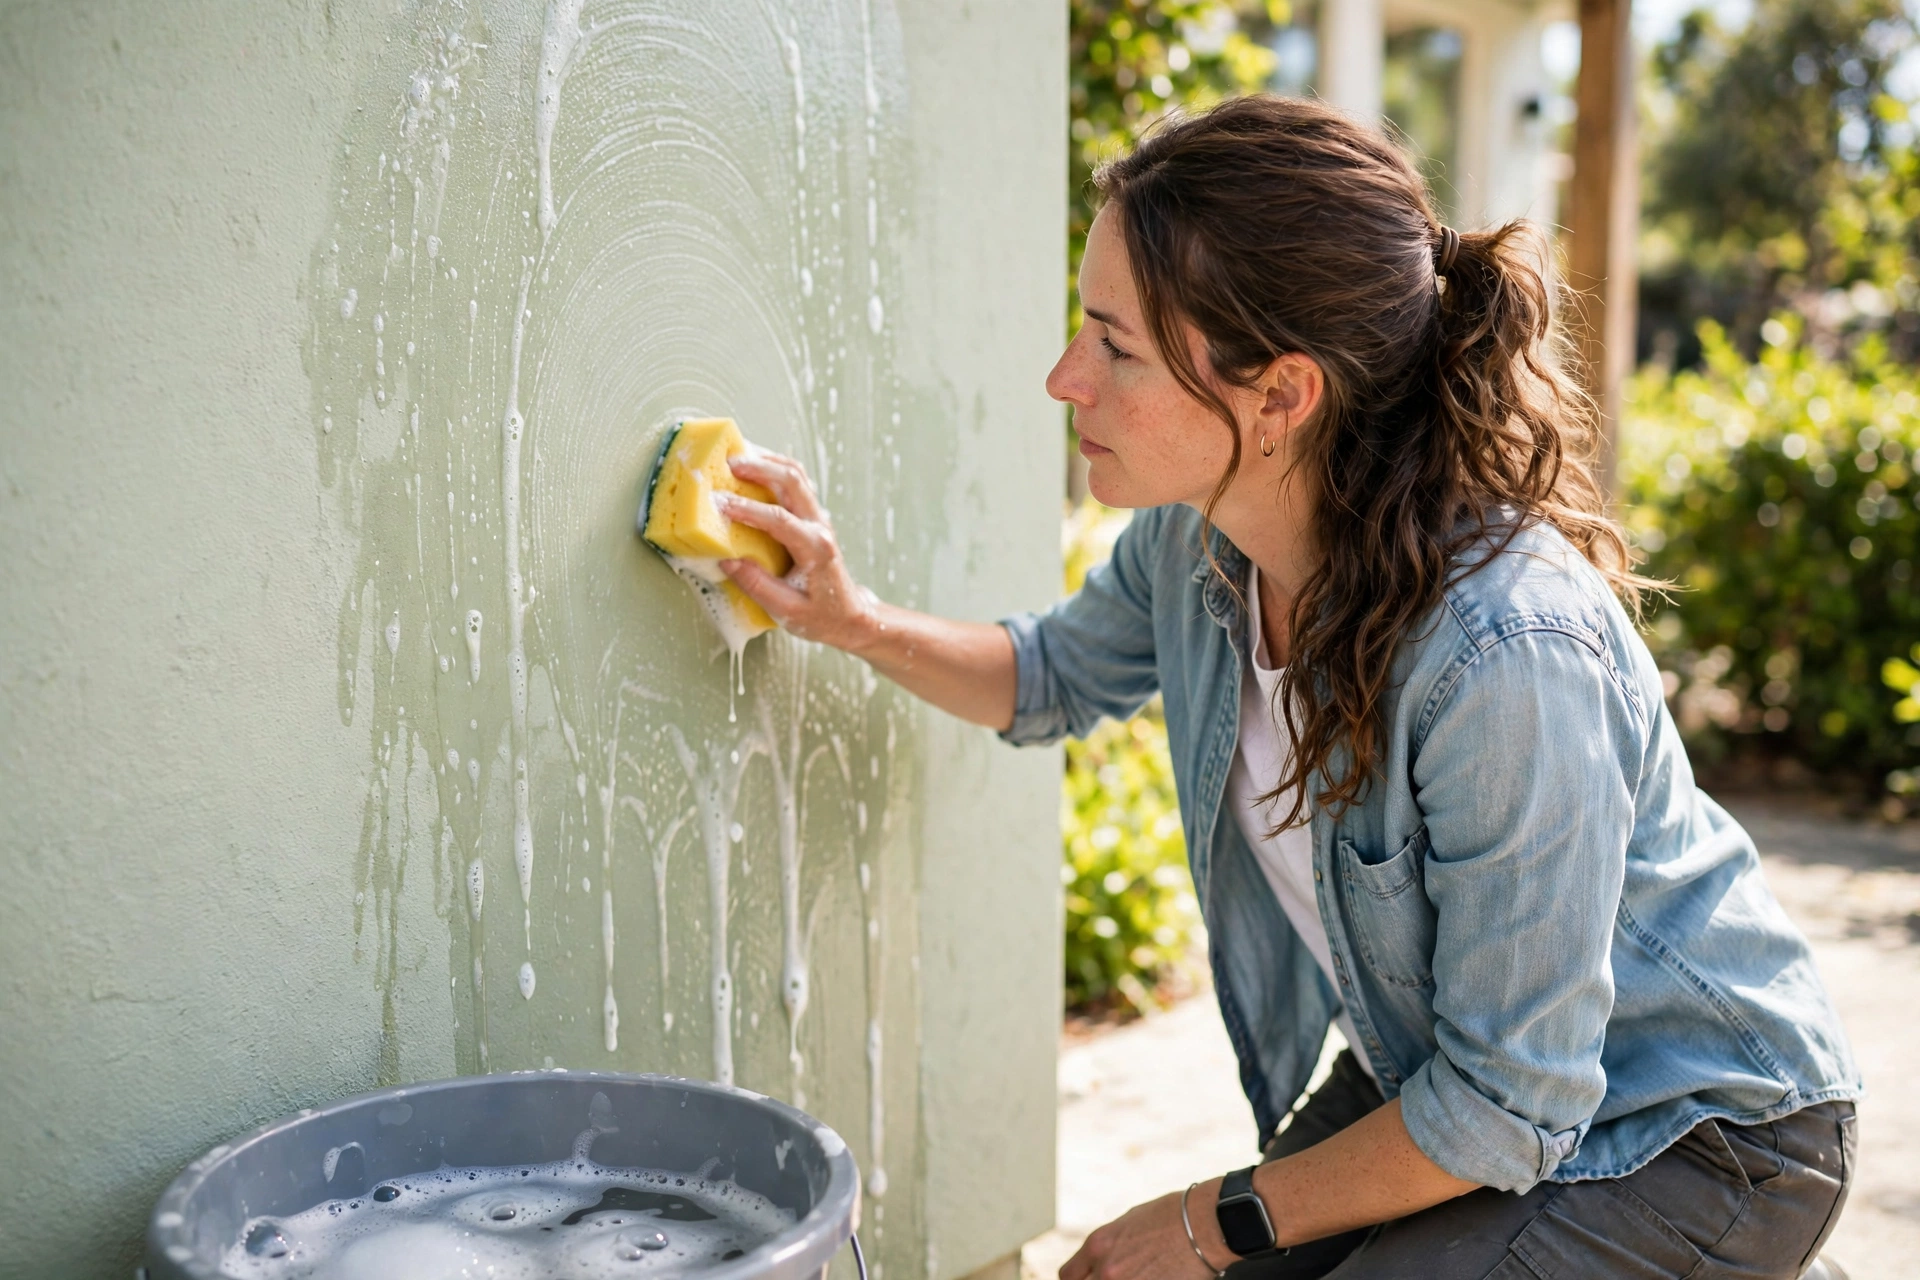
- Outside, a gentle wash removes mildew and chalking before it damages the film
Cleaning different paint finishes
The shinier the finish, the more cleaning it tolerates — and the more it shows dirt. Match your method to the sheen.
| Finish | How to clean |
|---|---|
| Flat / matte | Dust gently; spot-clean only — scrubbing removes the finish |
| Eggshell | Damp cloth with mild soap; light pressure |
| Satin | Handles regular wiping; good for busy areas |
| Semi-gloss | Scrubs well; ideal for trim, doors, and kitchens |
| Gloss | Most durable; wipe freely but expect visible smudges |
When in doubt, test in a hidden spot first — behind a door or inside a closet. If the cloth picks up color, stop: you’re removing paint, not dirt.
Repaint or keep maintaining
Touch-ups are for isolated damage. These signs mean the paint film itself is failing.
| Sign | What to do |
|---|---|
| Widespread peeling or flaking | Repaint — the bond has failed |
| Heavy chalking on exterior | Repaint — wash first, then prime and paint |
| Fading across large areas | Repaint — UV has broken down the color |
| Recurring mold or mildew | Fix the moisture source, then repaint |
| Single scuffs and chips | Touch up — isolated damage only |
| Dirty but intact paint | Clean — no repaint needed yet |

Maintaining exterior paint through the seasons
Exterior paint lives a harder life than interior paint, and each season attacks it differently. Sun, rain, frost, and wind take turns stressing the paint film, so a seasonal rhythm of small tasks keeps minor wear from turning into paint failure. The routine below spreads the work across the year so no single weekend carries the whole load.
Spring is inspection season. Walk the whole exterior and look closely at siding, trim, doors, and window frames. Winter leaves behind cracked caulk, popped nails, and paint that has lifted where ice worked its way in. Probe any soft or blistered spots gently — if the paint flakes off easily or the wood beneath feels soft, note it for repair before rot spreads. Wash off the winter grime, pollen, and any mildew with mild soap and water so you can see the true condition of the film, and let everything dry fully before you decide what needs touching up.
Summer is repair season. Warm, dry weather is ideal for touch-ups, recaulking, and spot priming because paint cures properly and adheres well. Work through the issues your spring inspection found: scrape loose paint back to a firm edge, sand lightly to feather the repair, spot-prime any bare wood, and touch up with the original paint. Keep sprinklers and hoses from constantly soaking the siding, and trim back bushes and branches that rub against painted surfaces or trap moisture against them — constant dampness is one of the fastest ways to kill exterior paint.
Autumn is preparation season. Clean the gutters so overflowing water doesn’t cascade down painted trim and fascia all winter. Check that the caulk lines around windows and doors are still intact before the wet weather arrives, and replace any that has shrunk or split. Touch up any bare spots you missed earlier — exposed wood that goes into winter unprotected will absorb moisture and deteriorate fast, turning a quick touch-up into a bigger repair by spring.
Winter is mostly hands-off, but not eyes-off. After storms, glance at the exterior for new damage: lifted paint, cracked trim, or water stains that suggest moisture is getting behind the film. Don’t paint in freezing temperatures — most exterior paints won’t cure properly below about 10°C — but do keep notes on everything you spot so your spring inspection starts with a ready-made list.
Follow this cycle year after year and your exterior paint gets attention exactly when it needs it. The payoff is measured in years: siding and trim that might otherwise need a full repaint get to keep their finish longer, and the few hours you spend each season cost far less in time and disruption than a premature whole-house repaint.
Frequently asked questions
How do you touch up paint without it showing?
Use the exact same paint — ideally from the original can — stir it well, and feather the edges with a small roller or brush. Two thin coats blend better than one thick one. Note that touch-ups are less visible on flat finishes than on glossy ones.
Can you paint over dirty walls?
Not well. Paint won’t bond to grease, dust, or mildew. Clean the surface with mild soap and water, let it dry fully, and prime any stains before painting — otherwise the new coat can peel.
How often should exterior paint be inspected?
Once a year, ideally in spring. Look for peeling, cracking, chalking, and failing caulk around trim and windows. Catching small failures early means touch-ups instead of a full repaint.
Why does exterior paint chalk?
Chalking is the paint binder breaking down from UV exposure — a powdery residue on the surface. Light chalking can be washed off before repainting, but heavy chalking means the paint film is failing and a repaint is due.
When is it time to repaint instead of touching up?
When damage is widespread — peeling across large areas, heavy chalking, or fading everywhere. Touch-ups are for isolated scuffs and chips; if you’re touching up constantly, a full repaint is the better investment.
Can I paint over old paint without priming?
Often yes, if the old paint is clean, sound, and similar in type — a light sanding and a good cleaning is enough. Prime when you’re covering bare spots, switching from oil to latex, painting over stains, or making a dramatic color change. When in doubt, prime: it’s cheap insurance.
How do I store leftover paint properly?
Seal the can tightly — tap the lid down all around, then store it upside down so the paint itself seals the lid against air. Keep it in a climate-controlled spot, not a freezing garage or hot attic. Labeled with the room, date, and finish, good paint lasts for years.
Next step
Walk the routine this weekend — dust, wash the trouble spots, and touch up the scuffs. Inspect the exterior this spring, and when the signs say the paint film is done, run the house painting cost calculator linked at the top of this guide before calling painters. Put the seasonal inspection on your calendar now — the paint you save will be your own.
